

I’ve been trying out HubSpot with some of my businesses recently, and I like what I see. I’m going to be using it more, and so I might end up with some blog posts about it. Here’s the first one.
Steps to integrate HubSpot Sales Hub with Outlook
- Open Outlook (these steps are for the OG version of Outlook)
- Click “Home” in the ribbon bar and then click “All Apps”
- If you have multiple inboxes in Outlook, make sure you have the inbox you want to connect to HubSpot selected.
- In the dialog that displays, search for “HubSpot Sales”
- Click the app and then click “Add”
- This should add the “Sales Tools” button in your ribbon bar. In mine, it was way to the right and I had to scroll all the way over to see it.
- Click the “Sales Tools” button in the ribbon bar
- This will open an app alongside your inbox
- Click “Login”
- After logging in, click “Logged in, let’s go”
- Click “Connect inbox”
- Accept the terms
- Close the window after a successful login
That’s it. Pretty seamless. I actually had to login twice, because there was a message that popped up asking if I wanted to enable MFA or not, but it worked pretty well other than that.
What can I do with HubSpot integrated with Outlook?
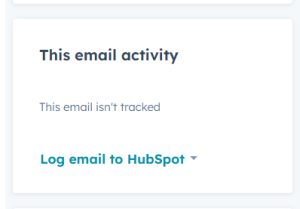
Now that you’re all connected, you can automatically link emails you send to HubSpot records.

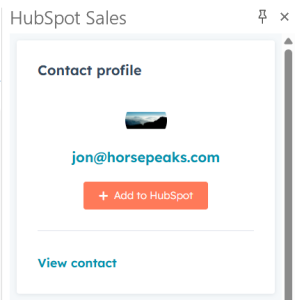
Keep the app loaded in the side and click through your inbox. When you select an email that has a contact that exists in HubSpot, you’ll be able to open the record directly from the app. If the contact doesn’t exist, you can create a new contact with a single click.

You can use the generative AI capabilities of HubSpot to write an email for you. By entering the subject, the tone, and who you’re addressing, HubSpot will whip up a few paragraphs and you can easily send it to your contact and track when the open it.


Come see me over at Tapestries Group to see how I can help you buy and implement HubSpot.

Leave a Reply Cancel reply